Making your own skincare products can be rewarding, but ensuring their safety is crucial before selling them. One of the most important steps in DIY skincare is testing for microbes and pH levels. Without proper testing, your products may harbor harmful bacteria or have an unsafe pH that could damage your customers’ skin. Here’s why and how you should test your homemade skincare creations before offering them for sale.
Why pH Testing Matters in DIY Skincare
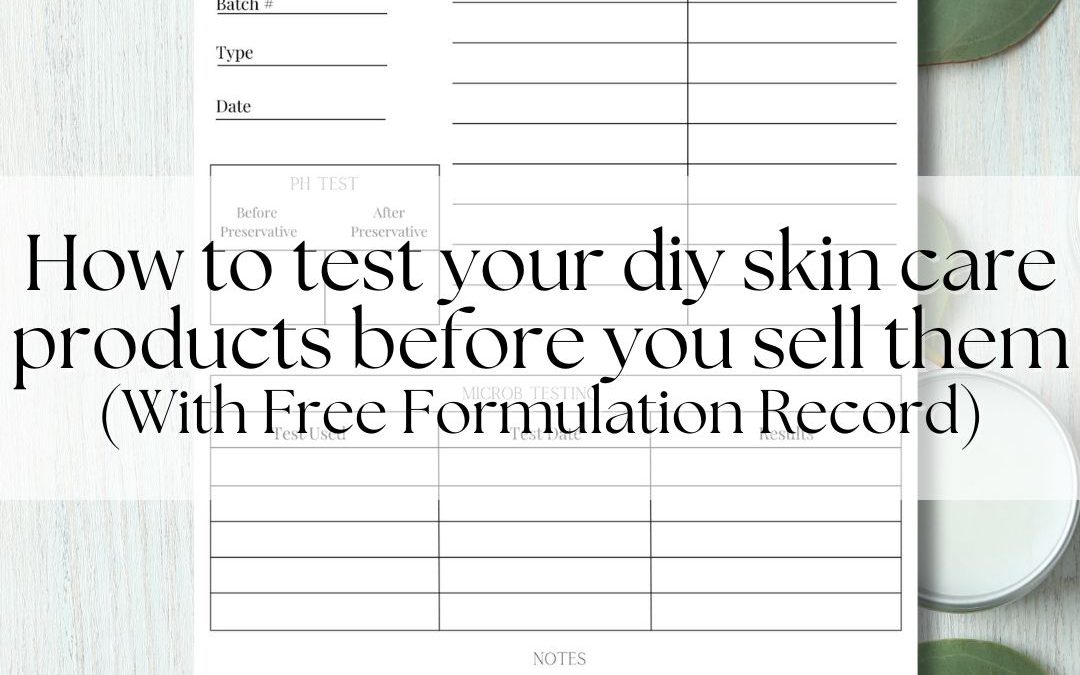
pH balance is critical for skincare products. The skin’s natural pH is slightly acidic, ranging from 4.5 to 5.5. Products that are too acidic or too alkaline can disrupt the skin barrier, leading to irritation, dryness, or breakouts. This is why testing the pH of your product before and after adding a preservative is essential.
How to Test pH:
Use pH Strips or a Digital pH Meter – Dip a pH strip into your product or use a digital pH meter for a precise reading.
Test Before Adding a Preservative – This ensures your base formula has a safe starting pH.
Test After Adding a Preservative – Some preservatives can shift the pH. Adjust with citric acid (to lower) or baking soda (to raise) if needed.
Adjust if Necessary – The final pH should be within a safe range for the skin and compatible with your preservative.
The Importance of Microbial Testing
Preservatives slow microbial growth, but testing is necessary to ensure they are effective. At-home microbial testing kits can help determine whether bacteria, yeast, or mold are present in your product.
How to Test for Microbes:
Test When You First Make the Product – This gives a baseline for contamination before use.
Use the Product as Intended for 3-5 Days – Be harsh on your product to mimic real-world conditions:
If it’s a lotion, dip wet fingers into it repeatedly.
If it’s used in the shower, store it in the shower and use it with wet hands.
Leave the cap slightly loose to introduce potential contaminants.
Let the Product Sit for a Week – After the “use and abuse” phase, let it sit undisturbed for another seven days.
Test Again – Run another microbial test to check if bacteria or mold have grown. If contamination is present, adjustments to your formulation, preservative choice, or handling practices may be needed.
Determining Shelf Life and Labeling Care Instructions
Proper testing can also help determine your product’s shelf life before you sell it. If microbial growth appears quickly, your preservative system may not be strong enough, or additional care instructions may be necessary.
Considerations for Shelf Life:
Short-Term Stability – If your product remains stable for a few weeks, it may require refrigeration to prolong shelf life.
Long-Term Stability – Products that remain microbe-free for months can be stored at room temperature under proper conditions.
Labeling Care Instructions:
“Refrigerate After Opening” – For products with water-based ingredients or minimal preservatives.
“Store in a Cool, Dry Place” – For oil-based or anhydrous products that don’t require refrigeration.
“Use Within X Months” – Set a suggested expiration date based on your microbial testing results.
Final Thoughts
Knowing how to test your DIY skin care products before you sell them is a necessary step to ensure they are safe and effective for your customers. By monitoring pH levels before and after adding preservatives and conducting real-world microbial testing, you can confidently create products that are gentle on the skin and resistant to harmful bacteria. Prioritizing safety means your handmade skincare will be both enjoyable and reliable for buyers.
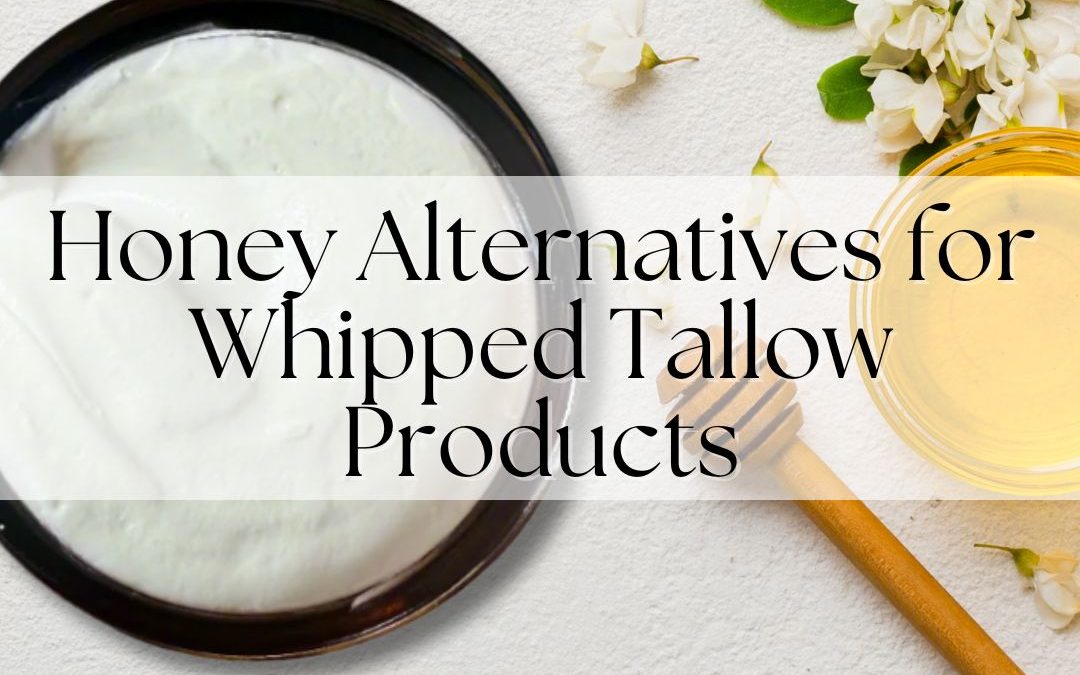
Honey has long been cherished in skincare for its humectant, soothing, and antimicrobial properties. However, incorporating honey into whipped tallow products presents a challenge due to its water content. Water-based ingredients require both a preservative and an emulsifier to prevent microbial growth and achieve proper blending, making honey a less straightforward addition to anhydrous (water-free) formulations like whipped tallow. Thankfully, several herbs and essential oils can mimic honey’s benefits without the need for preservatives or emulsifiers, making them excellent honey alternatives for whipped tallow products.
Why Look for Honey Alternatives?
Whipped tallow is an excellent moisturizer, rich in skin-nourishing fatty acids and vitamins. However, some formulators seek to enhance its properties with additional humectants, soothing agents, and antimicrobial components—qualities often attributed to honey. Since honey introduces water into an anhydrous formula, alternative ingredients that provide similar skin-loving benefits without requiring preservatives are ideal.
Best Herbs That Mimic Honey’s Effects
1. Humectant (Moisture-Retaining) Herbs
Marshmallow root – Rich in mucilage, helps draw moisture into the skin.
Aloe vera (dried) – Hydrating and soothing, similar to honey.
2. Antibacterial Herbs (Acne-Fighting)
Thyme – Contains natural antibacterial compounds like thymol.
Calendula – Antimicrobial and soothing for acne-prone skin.
Chamomile – Reduces bacteria and soothes irritation.
Licorice root – Helps brighten skin and fade dark spots.
Lemon balm – Mild exfoliant with brightening properties.
7. Skin Barrier Support & Deep Hydration Herbs
Oat straw – Strengthens the skin barrier and deeply hydrates.
Nettle – Nourishes the skin with vitamins and minerals.
Best Essential Oils* That Mimic Honey’s Effects
1. Humectant (Moisture-Retaining) Oils
Sandalwood – Helps lock in moisture and soften skin.
Palmarosa – Hydrates and balances oil production.
2. Antibacterial (Acne-Fighting) Oils
Tea Tree – Fights acne-causing bacteria.
Manuka – Similar to honey’s antibacterial properties but gentler than tea tree.
Thyme – Potent antimicrobial for breakouts.
3. Anti-inflammatory (Calming & Soothing) Oils
Chamomile (Roman or German) – Reduces redness and irritation.
Helichrysum – Helps with inflammation and wound healing.
4. Wound Healing & Skin Repair Oils
Frankincense – Promotes skin regeneration and reduces scars.
Lavender – Speeds up healing and soothes irritation.
5. Antioxidant & Skin Barrier Support Oils
Rose – High in antioxidants to protect and rejuvenate skin.
Carrot Seed – Supports skin elasticity and fights free radicals.
6. Gentle Exfoliation & Brightening Oils
Lemon (use only at night & properly diluted) – Gently brightens skin.
Ylang Ylang – Improves skin tone and circulation.
*Always be sure to check the usage rates of your essential oils when adding them to a skin care product.
How to Use These Alternatives in Whipped Tallow
Instead of adding honey, you can use these herbs and essential oils in one of two primary ways:
Herbal Infusions – To extract beneficial compounds from herbs, infuse dried botanicals in warm carrier oils over low heat for several hours. Strain the mixture before adding to tallow and whipping to create a smooth, herb-infused whipped tallow product.
Essential Oils – Adding a few drops of essential oils during the whipping process allows you to incorporate their benefits without altering the product’s anhydrous nature.
Finding honey alternatives for whipped tallow products is simple when using carefully selected herbs and essential oils. By incorporating moisture-attracting, soothing, and antimicrobial botanicals, you can achieve the same skin-loving benefits that honey offers—without the complications of preservatives and emulsifiers. Whether through herbal infusions or essential oils, these alternatives ensure your whipped tallow remains pure, effective, and stable for long-term use.
When it comes to natural skin care, few ingredients are as rich and nourishing as tallow, honey, and goat milk. These three powerhouse ingredients come together to create a moisturizing, soothing cream that your skin will love. Whether you’re dealing with dry patches, irritated skin, or just want a gentle but effective moisturizer, this Tallow and Honey Lotion Recipe is just what you need.
Creating high-quality skincare products requires more than just mixing water and oils. Without an emulsifier, these ingredients will separate over time, leading to instability in your formulations (and don’t forget you will need a preservative!). Choosing the right emulsifier is essential for achieving the perfect texture, consistency, and performance of your skincare products. In this guide, we’ll explore various emulsifiers, their benefits, and how to select the right one for your formulation needs.
When creating skin care products, ensuring their safety and longevity is essential. Without proper preservatives, water-based products become breeding grounds for bacteria, mold, and yeast. But how do you choose the right preservative? Understanding preservatives for skin care products, their effectiveness, and how they interact with different formulations is key to making high-quality, safe products.
Starting a homemade skincare and soap business is an exciting venture that allows you to share your creations with others. However, it’s essential to consider the potential risks involved. Accidents can happen, and without proper insurance, your business could face significant financial and legal challenges. This article explores the importance of having insurance for your skincare business and provides guidance on obtaining the necessary coverage.
We use cookies to optimize our website and our service.
Functional
Always active
The technical storage or access is strictly necessary for the legitimate purpose of enabling the use of a specific service explicitly requested by the subscriber or user, or for the sole purpose of carrying out the transmission of a communication over an electronic communications network.
Preferences
The technical storage or access is necessary for the legitimate purpose of storing preferences that are not requested by the subscriber or user.
Statistics
The technical storage or access that is used exclusively for statistical purposes.The technical storage or access that is used exclusively for anonymous statistical purposes. Without a subpoena, voluntary compliance on the part of your Internet Service Provider, or additional records from a third party, information stored or retrieved for this purpose alone cannot usually be used to identify you.
Marketing
The technical storage or access is required to create user profiles to send advertising, or to track the user on a website or across several websites for similar marketing purposes.