This post may contain affiliate links, to learn more about them, check out our Disclosure.
Making your own skincare products can be rewarding, but ensuring their safety is crucial before selling them. One of the most important steps in DIY skincare is testing for microbes and pH levels. Without proper testing, your products may harbor harmful bacteria or have an unsafe pH that could damage your customers’ skin. Here’s why and how you should test your homemade skincare creations before offering them for sale.
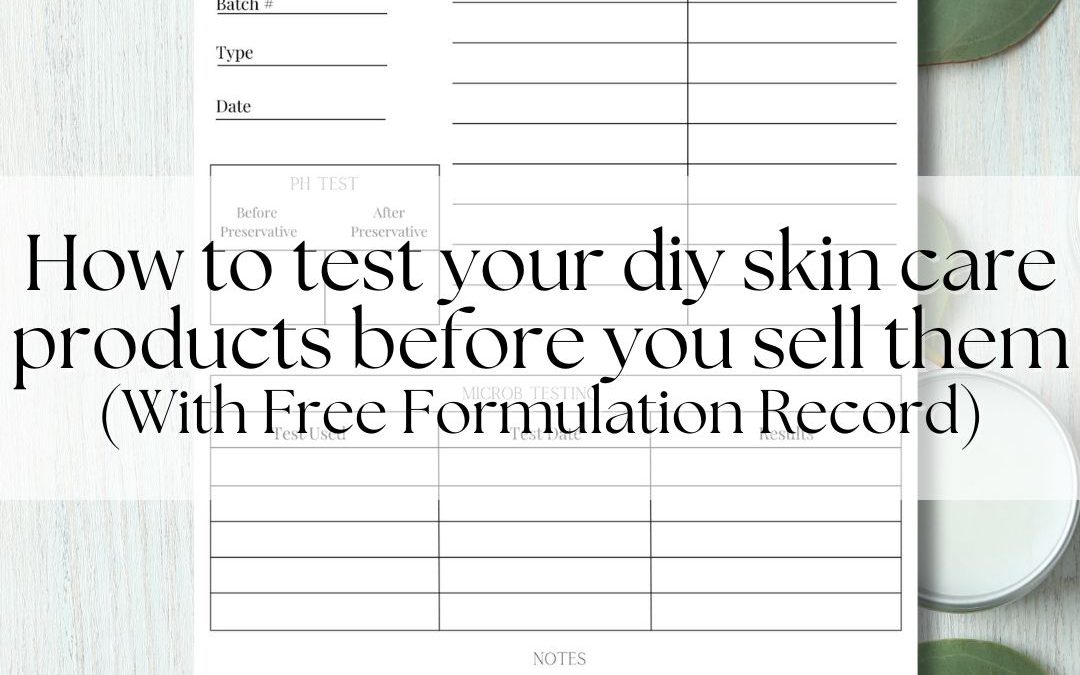
Why pH Testing Matters in DIY Skincare
pH balance is critical for skincare products. The skin’s natural pH is slightly acidic, ranging from 4.5 to 5.5. Products that are too acidic or too alkaline can disrupt the skin barrier, leading to irritation, dryness, or breakouts. This is why testing the pH of your product before and after adding a preservative is essential.
How to Test pH:
- Use pH Strips or a Digital pH Meter – Dip a pH strip into your product or use a digital pH meter for a precise reading.
- Test Before Adding a Preservative – This ensures your base formula has a safe starting pH.
- Test After Adding a Preservative – Some preservatives can shift the pH. Adjust with citric acid (to lower) or baking soda (to raise) if needed.
- Adjust if Necessary – The final pH should be within a safe range for the skin and compatible with your preservative.
The Importance of Microbial Testing
Preservatives slow microbial growth, but testing is necessary to ensure they are effective. At-home microbial testing kits can help determine whether bacteria, yeast, or mold are present in your product.
How to Test for Microbes:
- Test When You First Make the Product – This gives a baseline for contamination before use.
- Use the Product as Intended for 3-5 Days – Be harsh on your product to mimic real-world conditions:
- If it’s a lotion, dip wet fingers into it repeatedly.
- If it’s used in the shower, store it in the shower and use it with wet hands.
- Leave the cap slightly loose to introduce potential contaminants.
- Let the Product Sit for a Week – After the “use and abuse” phase, let it sit undisturbed for another seven days.
- Test Again – Run another microbial test to check if bacteria or mold have grown. If contamination is present, adjustments to your formulation, preservative choice, or handling practices may be needed.
Determining Shelf Life and Labeling Care Instructions
Proper testing can also help determine your product’s shelf life before you sell it. If microbial growth appears quickly, your preservative system may not be strong enough, or additional care instructions may be necessary.
Considerations for Shelf Life:
- Short-Term Stability – If your product remains stable for a few weeks, it may require refrigeration to prolong shelf life.
- Long-Term Stability – Products that remain microbe-free for months can be stored at room temperature under proper conditions.
Labeling Care Instructions:
- “Refrigerate After Opening” – For products with water-based ingredients or minimal preservatives.
- “Store in a Cool, Dry Place” – For oil-based or anhydrous products that don’t require refrigeration.
- “Use Within X Months” – Set a suggested expiration date based on your microbial testing results.
Final Thoughts
Knowing how to test your DIY skin care products before you sell them is a necessary step to ensure they are safe and effective for your customers. By monitoring pH levels before and after adding preservatives and conducting real-world microbial testing, you can confidently create products that are gentle on the skin and resistant to harmful bacteria. Prioritizing safety means your handmade skincare will be both enjoyable and reliable for buyers.